Right now, there are arrays of elements that are trending on the social networking sites and among them, GIF is obviously the one topping the charts. Tell us, is there anything else that would make you happier than sending your friends the perfect GIF? How about creating them all on your own and sharing them to gain some appreciation? Read on and create GIFs on Mac without any hassle!
To make Animated GIFs on Mac, you need to rely on third-party apps. A GIF is a teeny loopy animated video, which comprises of a flurry of cartoon sections and is basically used as a means of remarking on any subject. Now today we will be discussing the various ways in which you can create a GIFs on Mac in a hassle-free manner.

How to Create GIFs on Mac or MacBook Pro/Air
Third Party Apps- The real lifesaver!
While having a quick look at the GIF, you might have the notion that it can only be created by efficient professionals; but it is far from the truth. Did you know that there are specific apps available on the Mac Play Store that will help you create the GIF in a jiffy? Now let us peek into them individually.
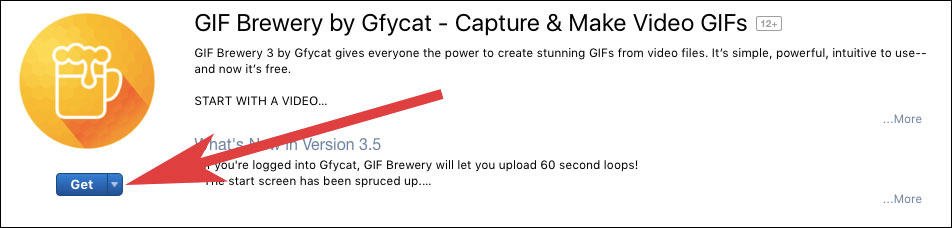
GIF Brewery 3
This is an application that you are bound to adore- since it is very easy to handle- and you can create an interesting GIF out of anything – and we do mean ANYTHING! All you have to do is to install and run the application from the store, and prove deeper into the options of making Giphy given there.
You have three options for creating the GIF: importing the video from another source, recording on screen, and by recording with the default camera.
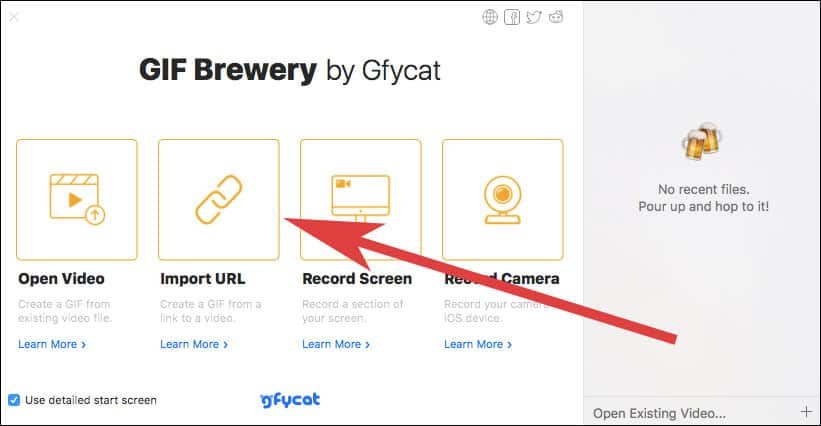

For the first option, you will just have to click on the ‘importing a video or a link’ ‘open video link’ and you will be able to import the video that is present in your Mac. Thereafter, mention the precise start timer and end timers according to your suitability or resize/ crop the videos.
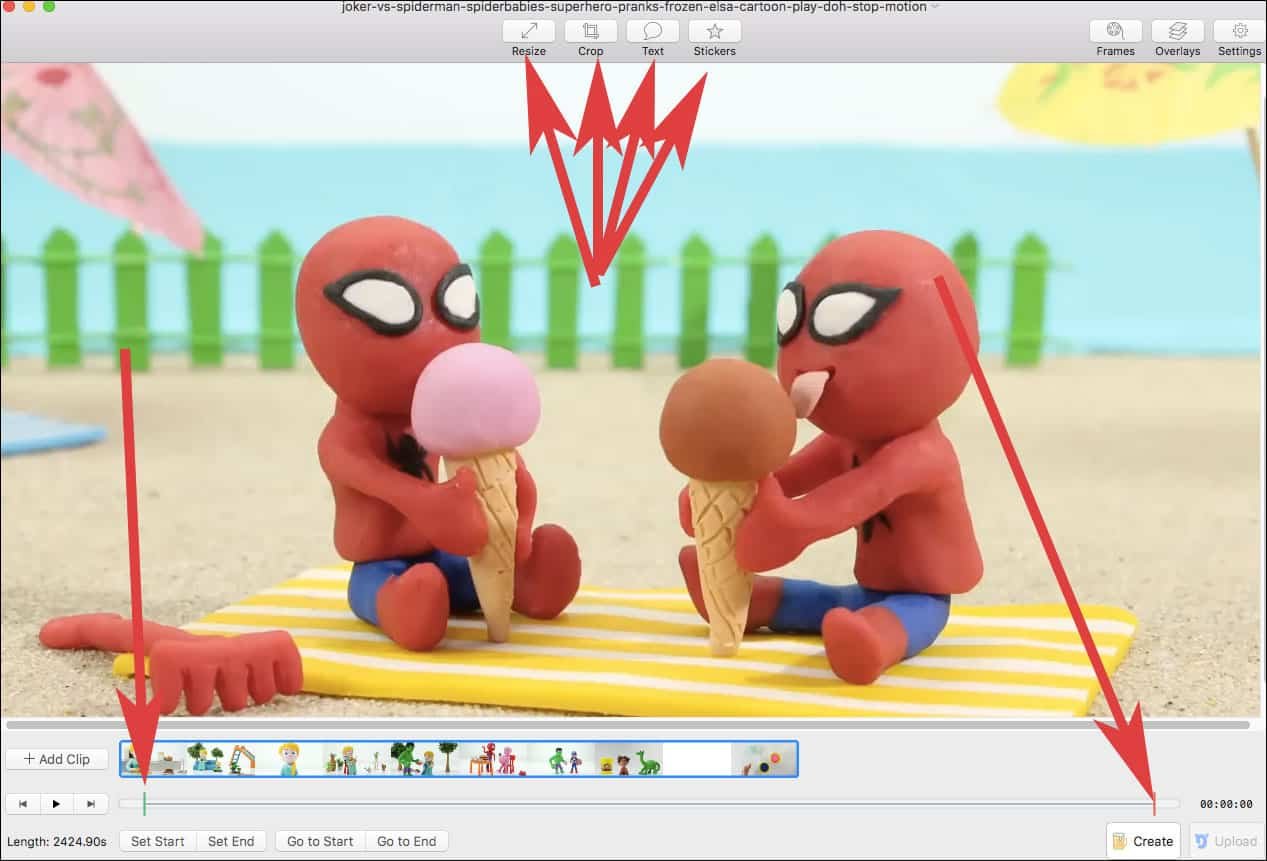
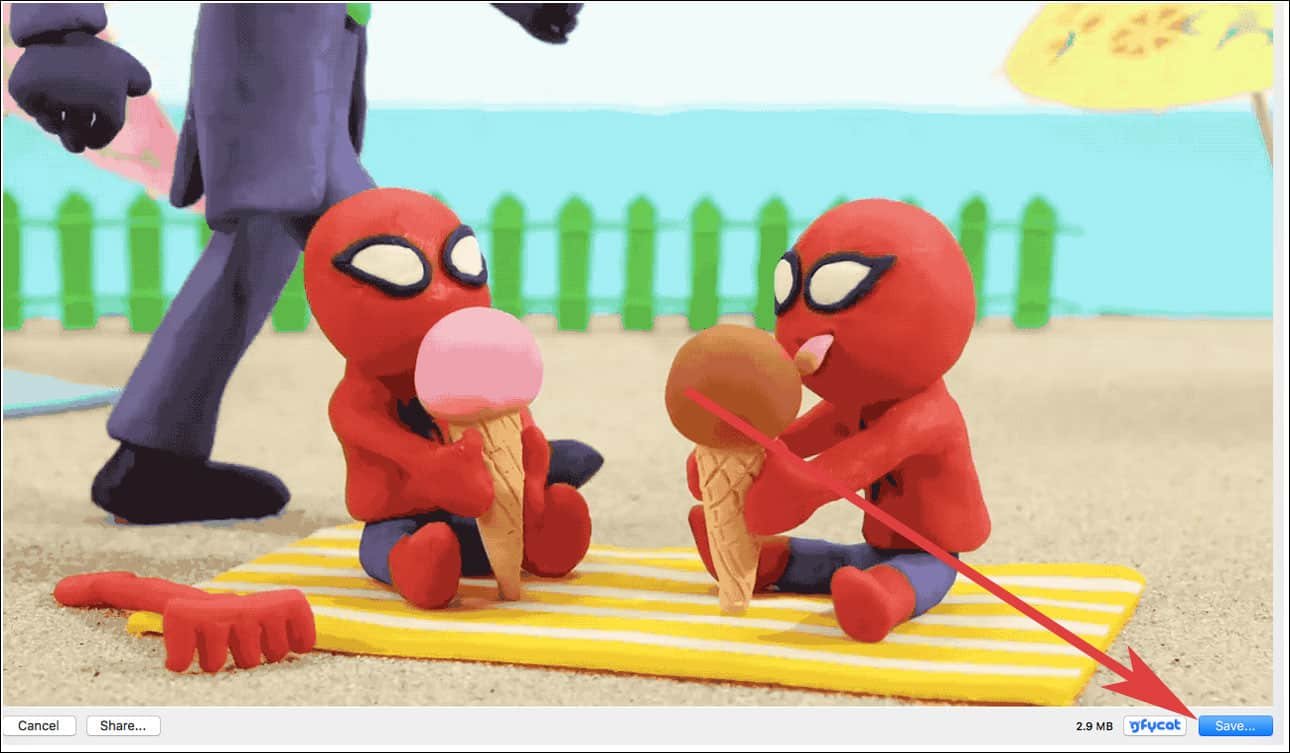
The navigation system of this application is so lucid that each and every viable option is present right on the top toolbar. Once that is done, just save the Giphy and Lo! You are done!
GIPHY Capture
This application is the one that covers the single backlog of the GIF Brewery 3. In the case of the aforementioned app, the only problem is while inserting the link, the video first downloads and then gets converted – which can be a major hurdle if size of the video is too big. That is the time when GIPHY capture surfaces to save the day.
This application records only the specific part that you want to convert, by overlaying the screen. Now let us know about the working mechanism with intricate detailing.
Load the video that you want to load after opening a browser and then you have to launch the application. Then, you have to adjust and resize the video in accordance with the compatible player and record the same.
It is advisable that you record a bit more than required- since you always have the option to crop it later. Also keep in mind, right after the recording starts, the video will seem faded in comparison to the recording window.
P.S.: It’s a secret! Try using the play/pause button when you are adjusting the application window size; it will make it picture perfect.
Once that is done, open the editing window by double clicking the video. There are a lot of options to choose from, and edit using the tools after minimizing the recording window. In the options, you can mark the starting and the ending; decide on the size of the pixel, the looping technique, the frame rate and a lot more.
After editing has been completed, you can either upload the Giphy directly or save it to your Mac for further use.
Also Check:
- How to Save and View GIFs in iOS 11 on iPhone and iPad
- How to Turn Live Photos into GIFs or Videos on iPhone
- How to Send Live Photos as GIFs on iPhone or iPad in iOS 11
- How to Convert Videos into GIFs in WhatsApp on Android Phone
End Note
Trust us when we say this, but creating a Giphy is not as hard as it seems- and is indeed a fun thing to do in your leisure time. So how about creating a personalized GIPHY and surprising all your acquaintances?
Do you like to make GIF on Mac using any third-party app? Share your feedback with us on Facebook, Twitter and Google Plus.